Eric recently said that perhaps the next business I should start in Ishinomaki to provide employment here is making photo cakes… it is relatively unheard of here in Japan and thus the shock effect when people see a cake with edible photos is super-fun!
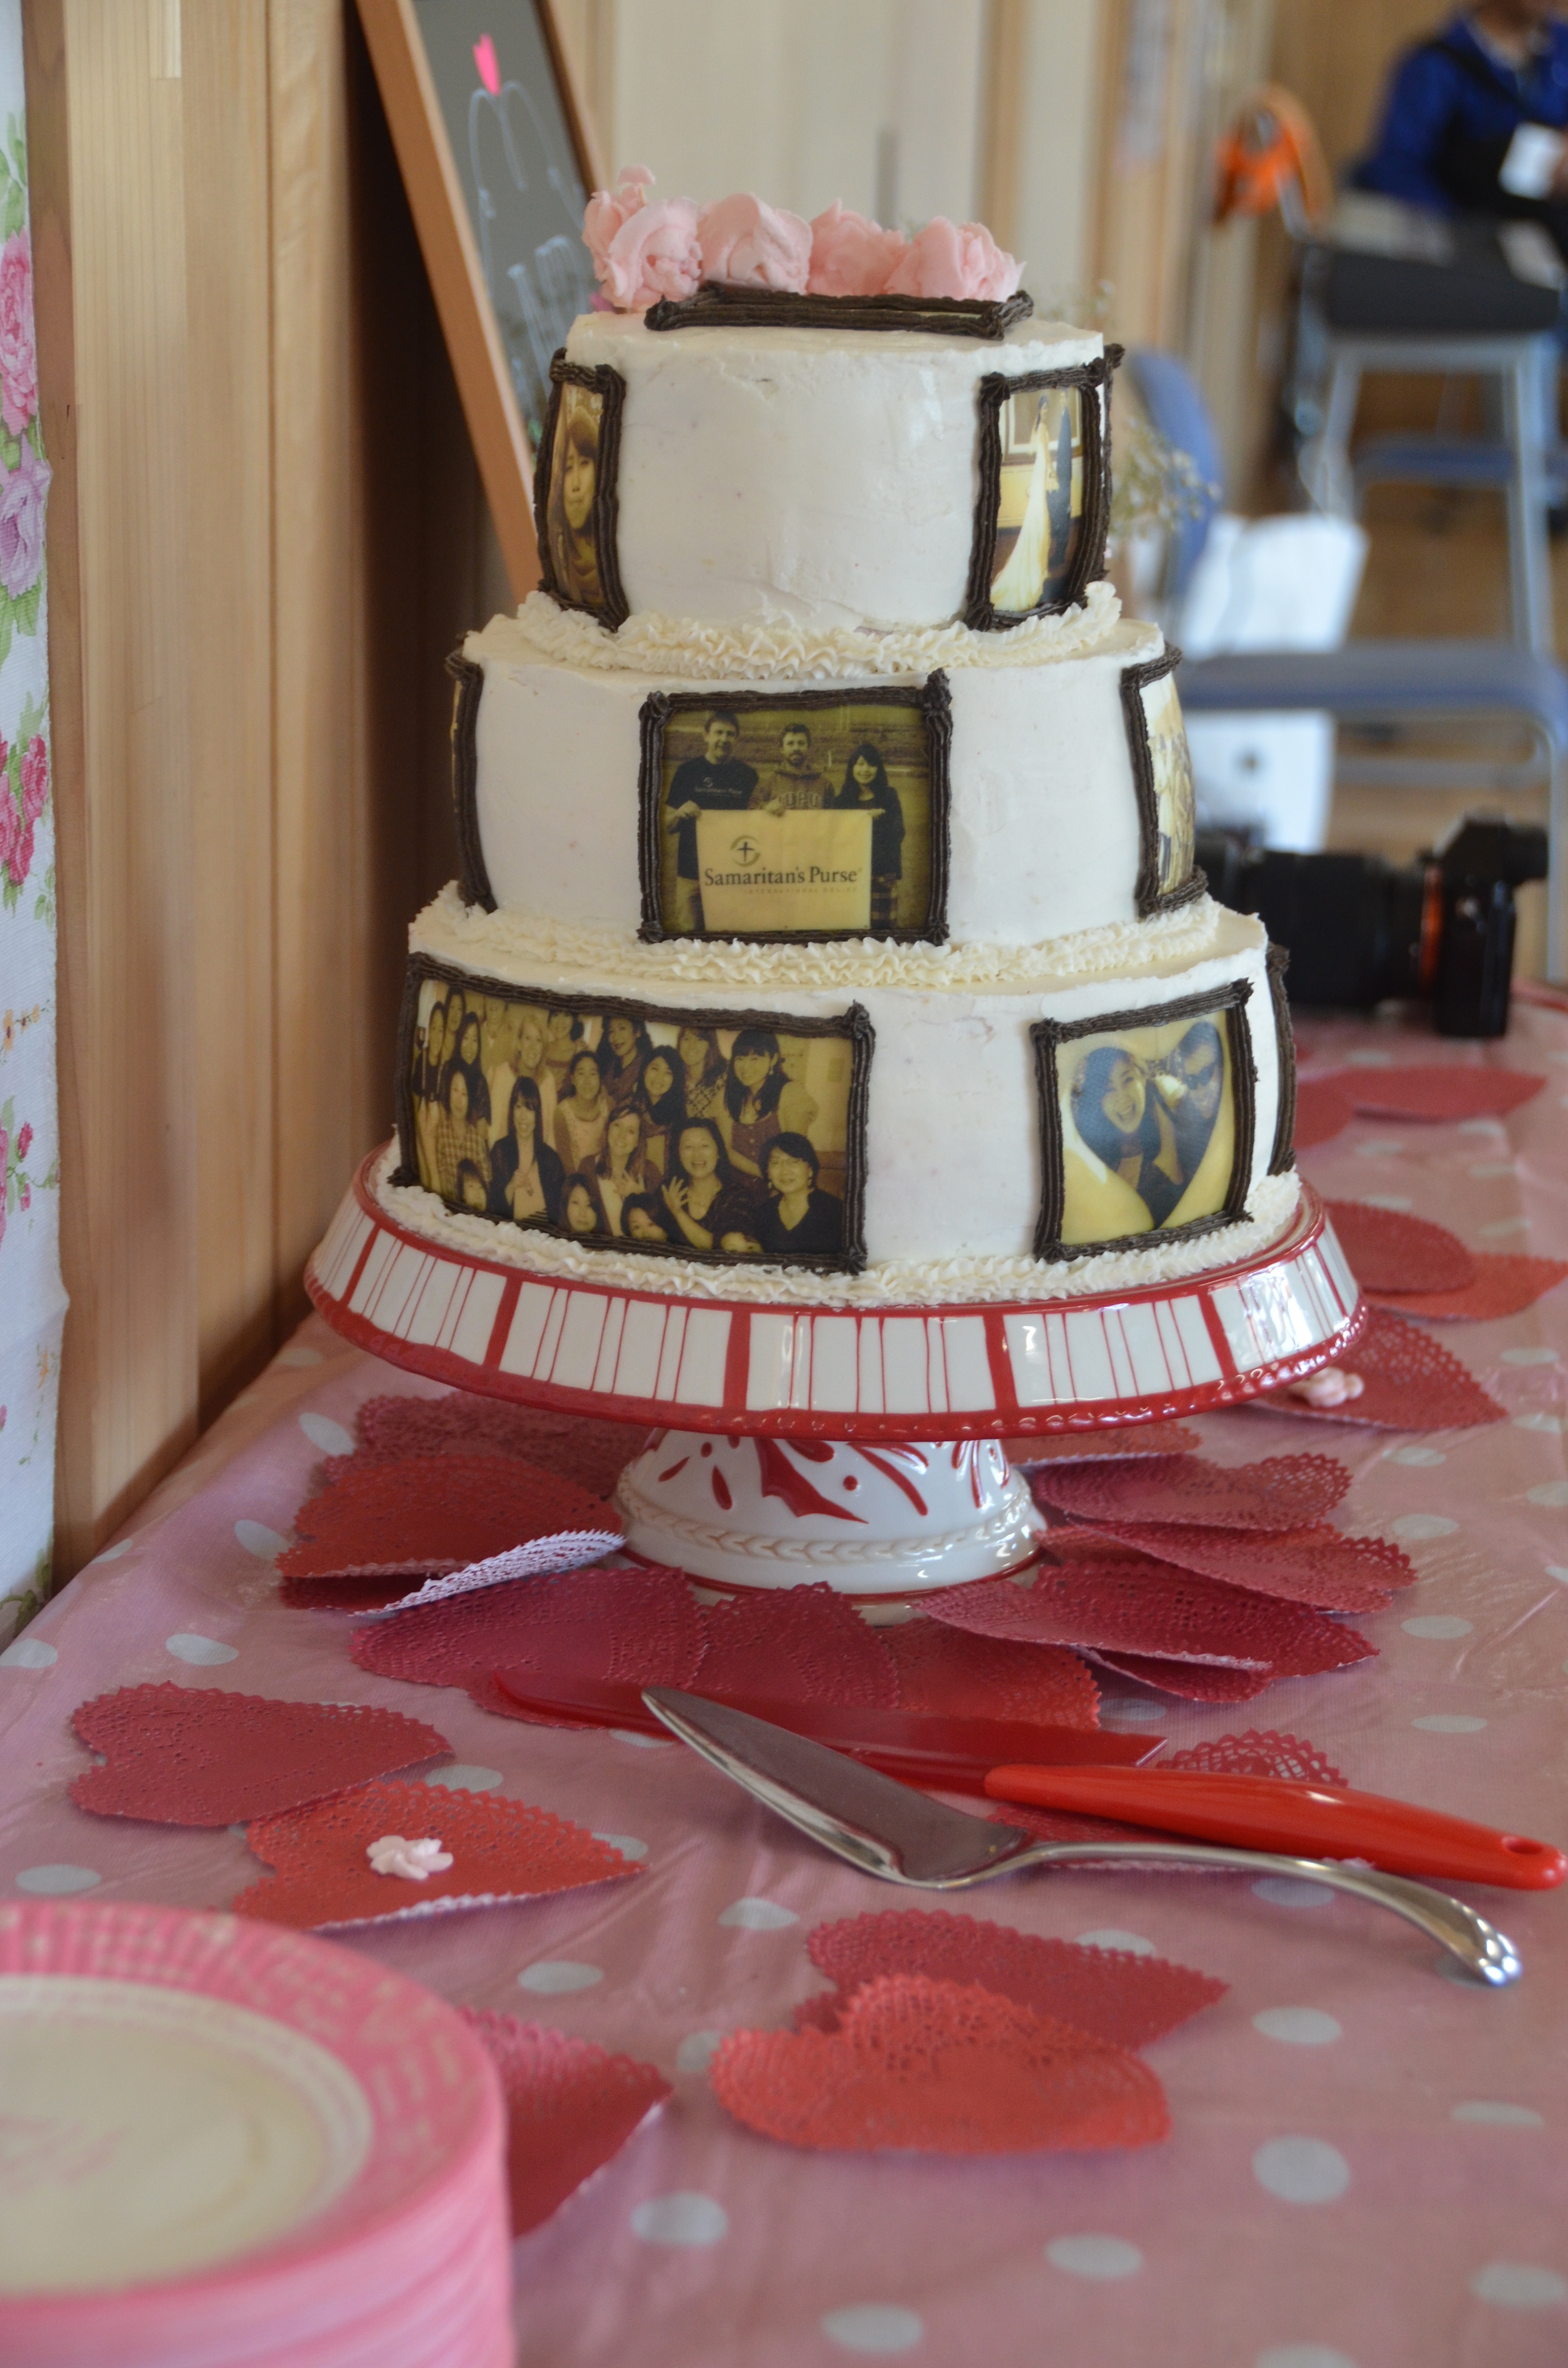
Our good friends yesterday celebrated their wedding with our Japan community — they were officially married in Indiana last December but we had the reception. I wanted to make a sepia photo cake that could celebrate different seasons of their lives, their relationship, and their friendships.
The process of finding a place to print the photos was a bit of a challenge. I knew I wanted to make some kind of tiered sepia photo wedding cake (I had made a similar one for my dear friend Lyn a number of years ago). I first ordered the pages through ebay in the UK two weeks ago, but they took too long to respond and couldn’t ship them in time. Then my friend Shirlee in LA found a bakery to do it, but the shipping would have been $100. Eeks. Then we finally found a reluctant cake man down in Tokyo who agreed on the promise of secrecy to make and send the three pages of sepia icing sheets, but he had problems with his printer and was more than relieved when our friends the Browns offered to bring them back from San Diego this week! They got them at the local Albertsons and flew them back; I picked them up in Sendai on Friday and decorated on Saturday – just in time!
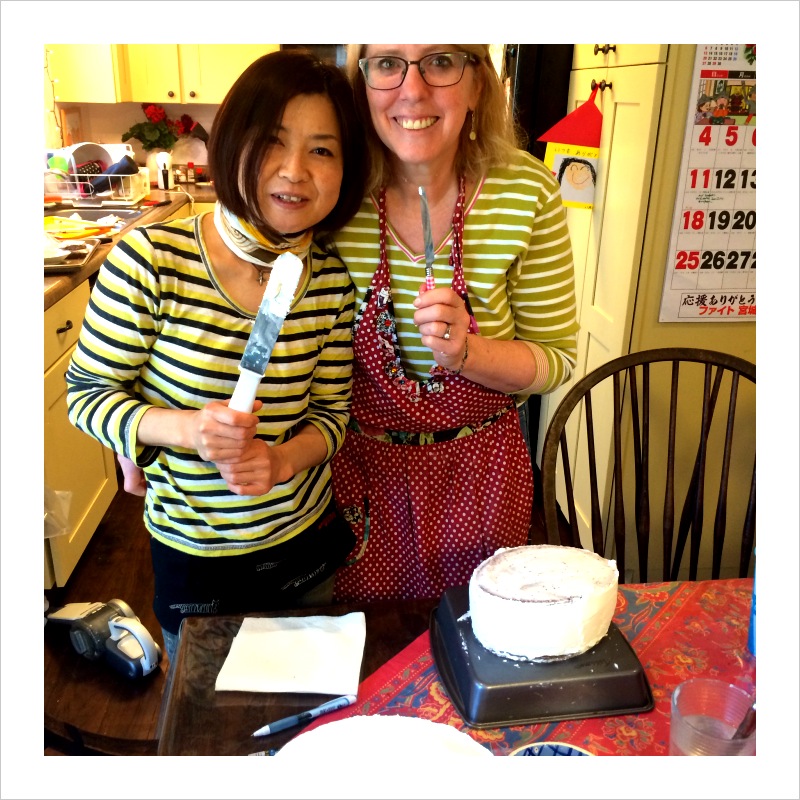
I loved having my Nozomi friend Mika come and help me both Saturday and Sunday – she has done desserts on the side and was a huge help. I really really don’t like the pressure of making a cake for a large group of people – her confidence was a huge encouragement. We have both decided that after our 3 months in the US we are going to watch YouTube and continue self-teaching and practicing different techniques!
I will briefly outline my steps for making a 3- tiered photo cakes for other novice cake bakers like myself:
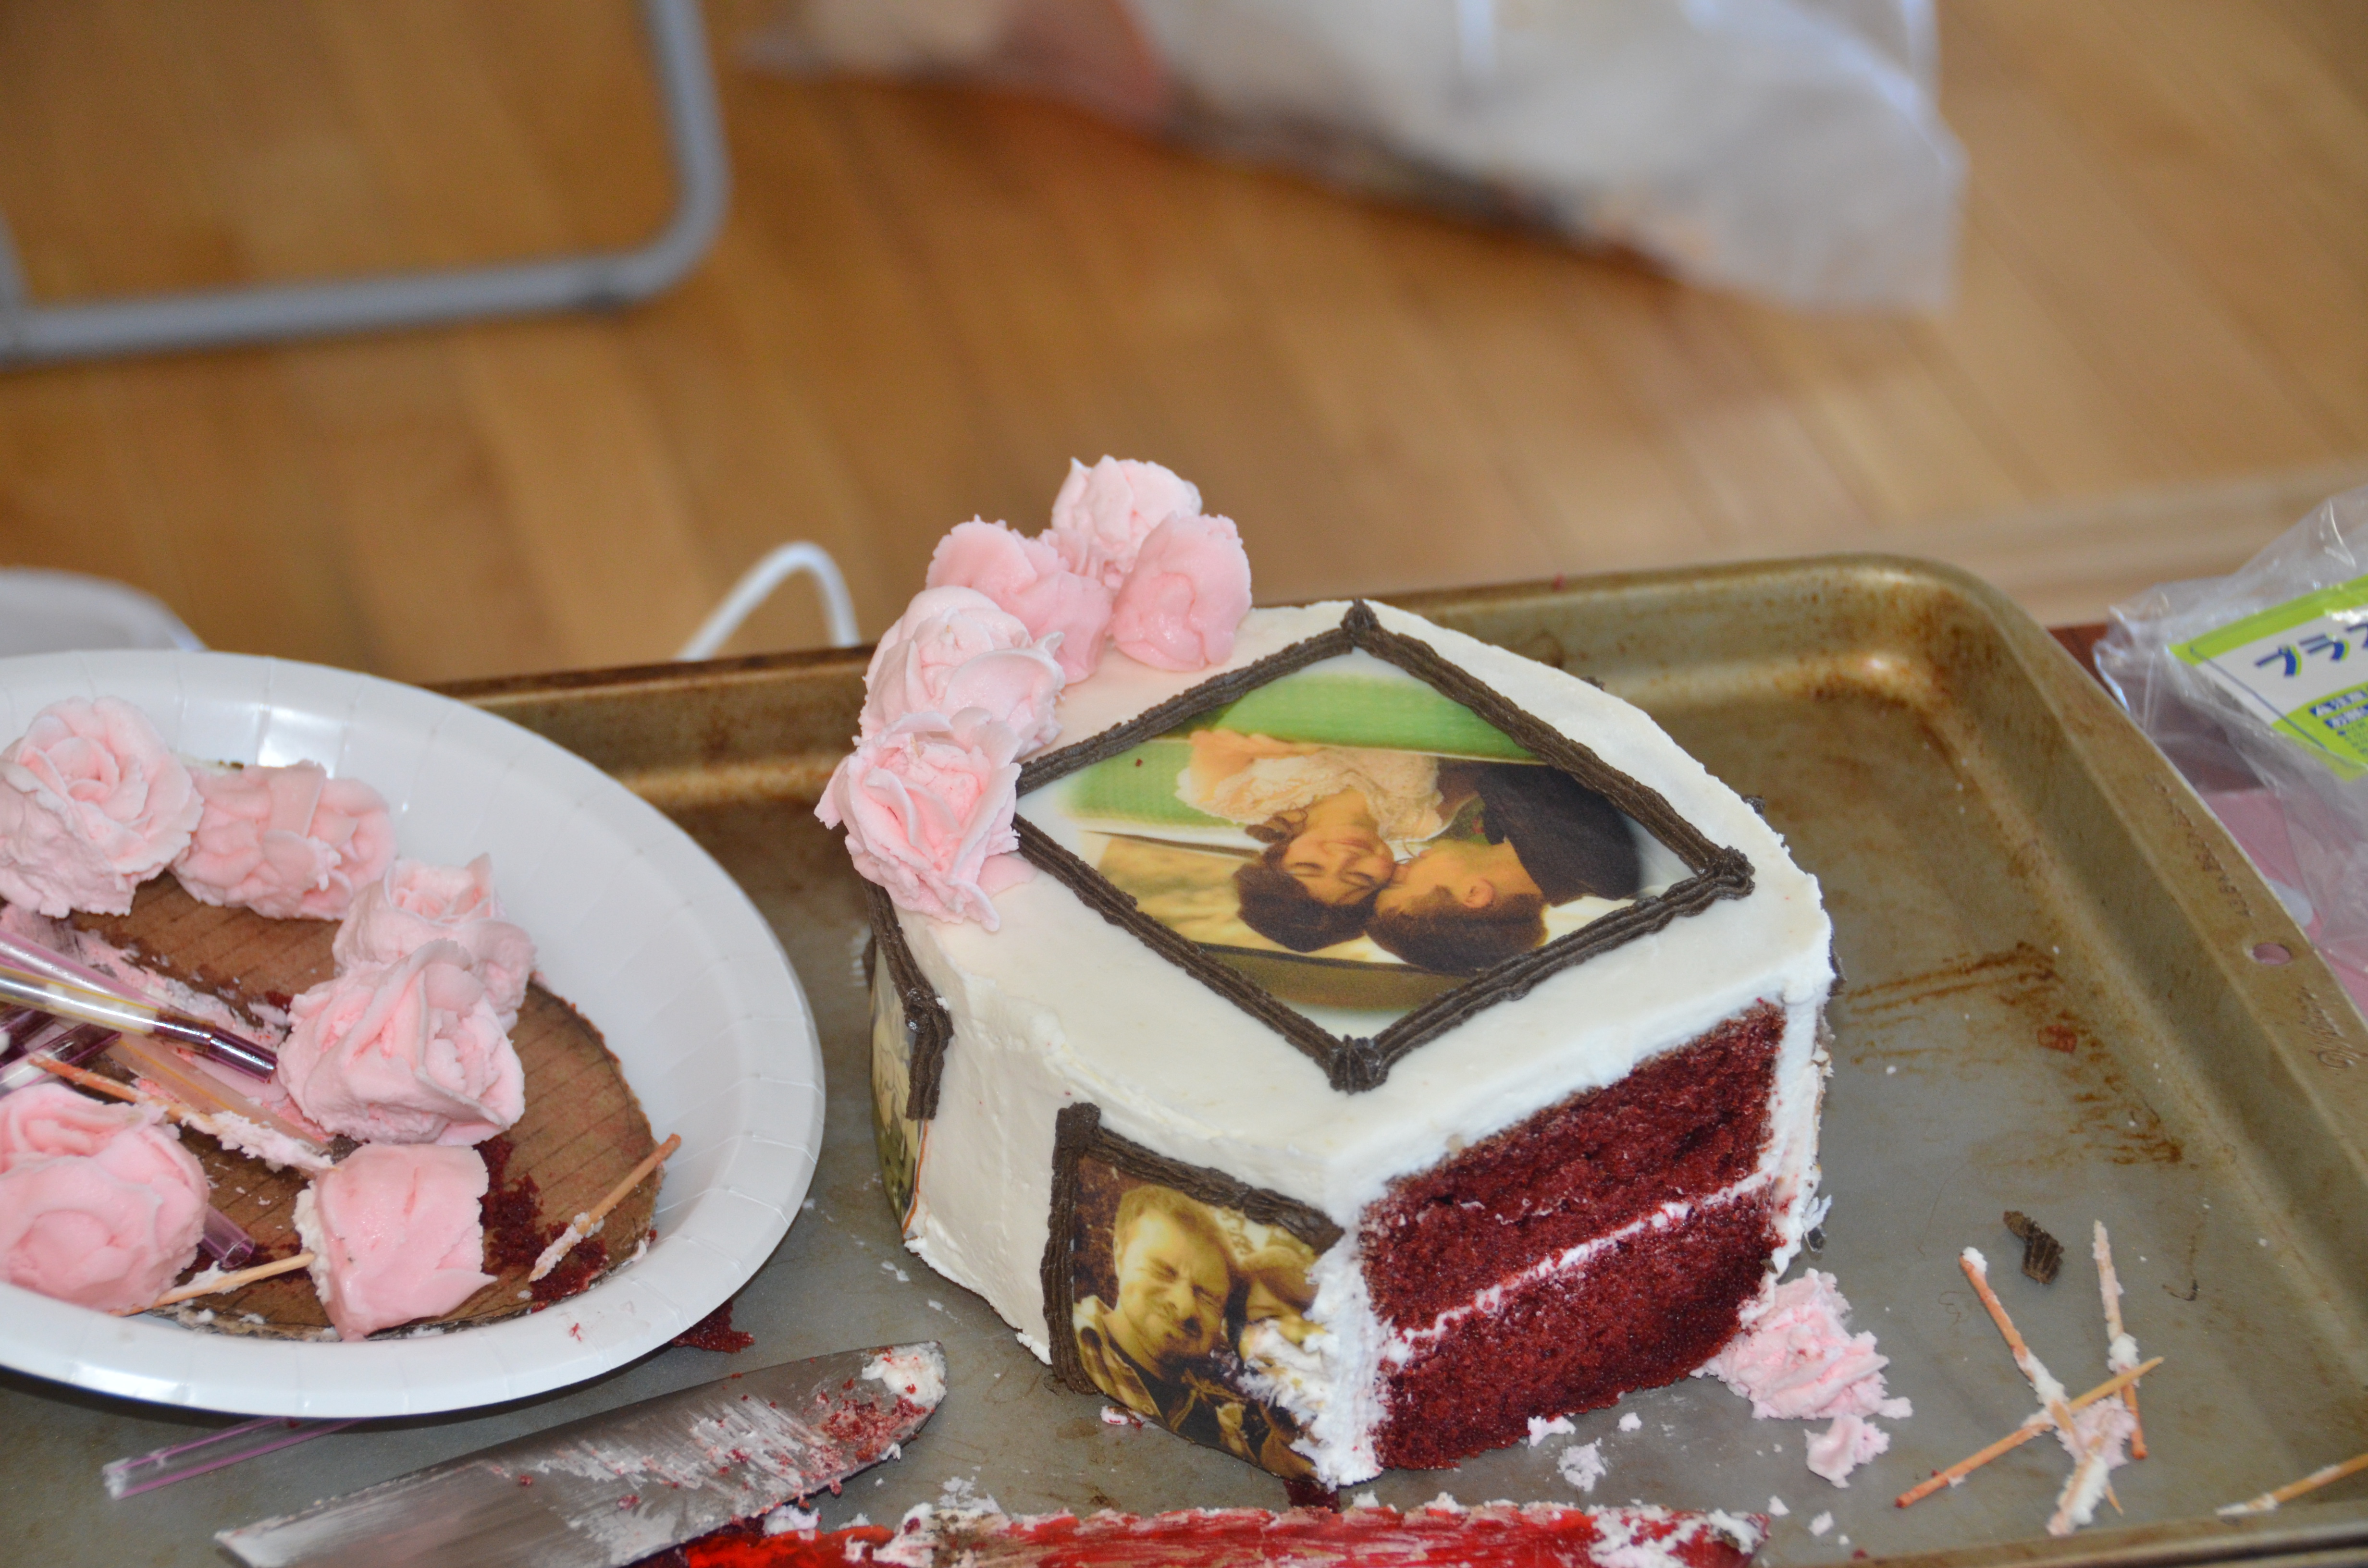
I baked the 3 red-velvet cakes several days ahead and froze them. I totally believe in this technique for keeping the cakes moist until frosting, as well as eliminating some of the issues of crumbing.
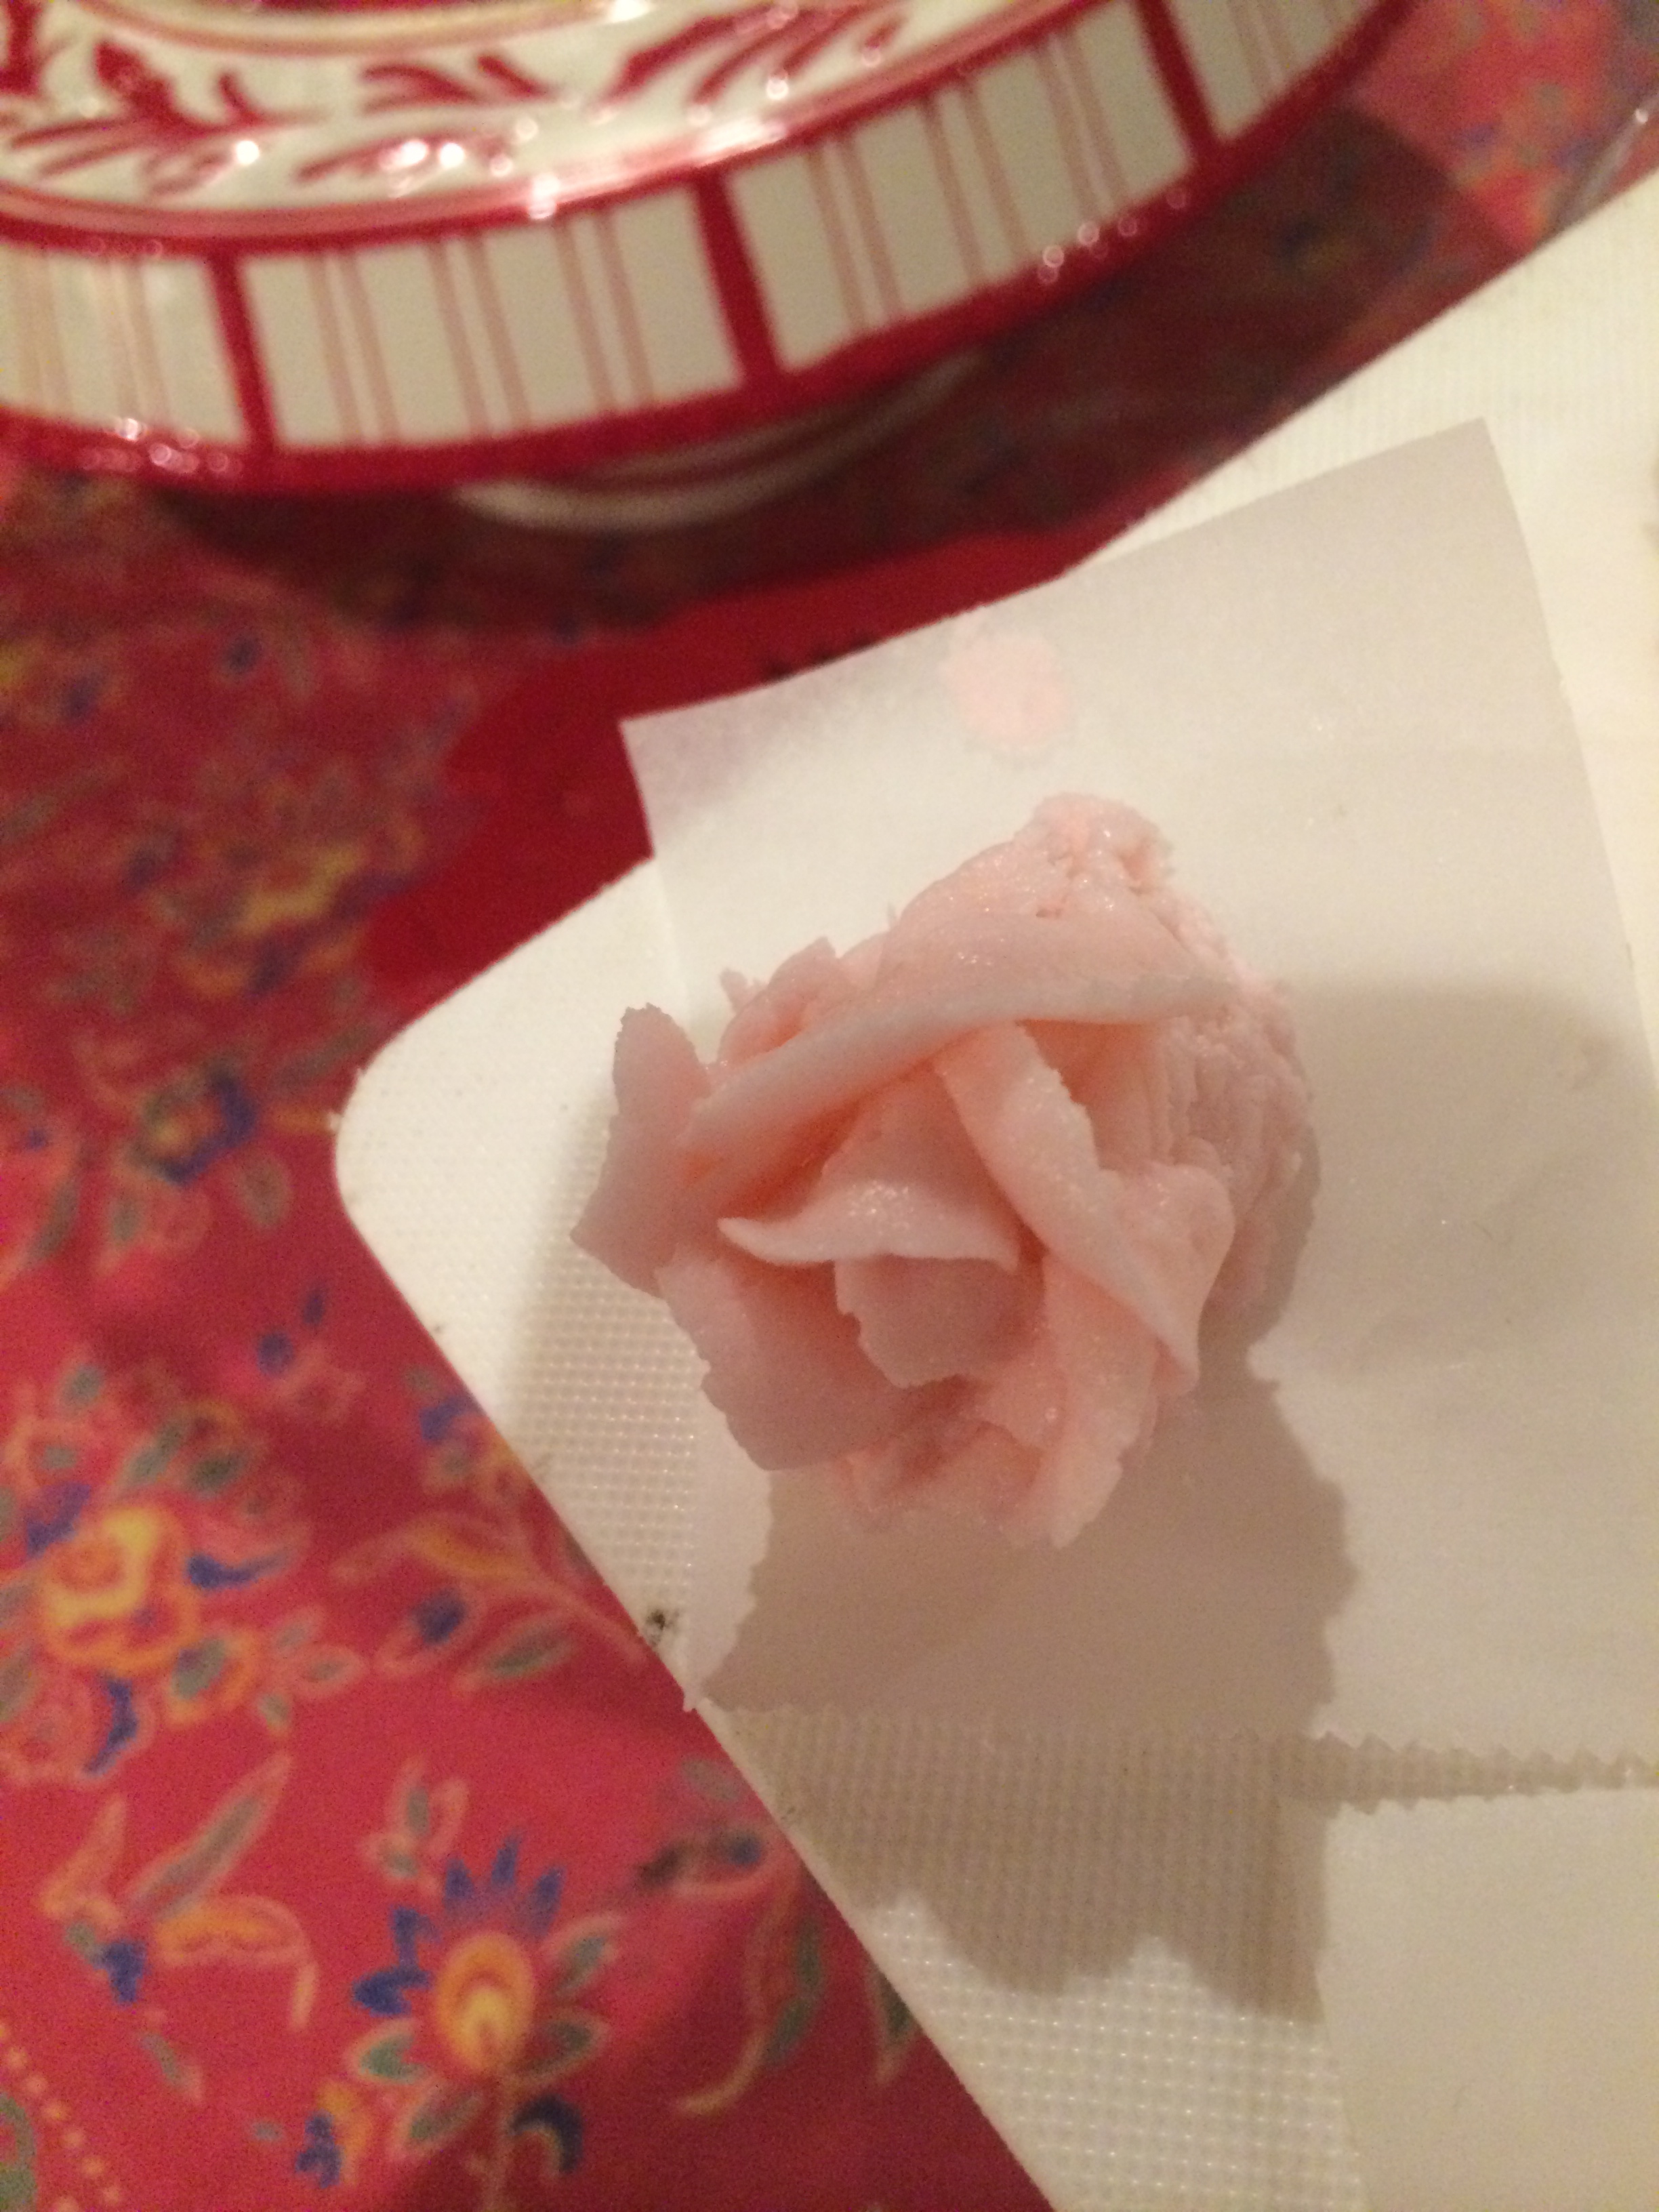
I wanted to do a cascade of roses – but I’ve never made roses before! So Friday night I watched some YouTube gurus and sort-of self taught myself. I made a few more on Saturday night. I used a buttercream frosting for the cake frosting and the decorations. (My basic recipe is: 4 C confectioner sugar, 1 C combo of shortening and butter – less butter as it gets more humid outside; milk or cream until it gets creamy; 1-2 t. vanilla).
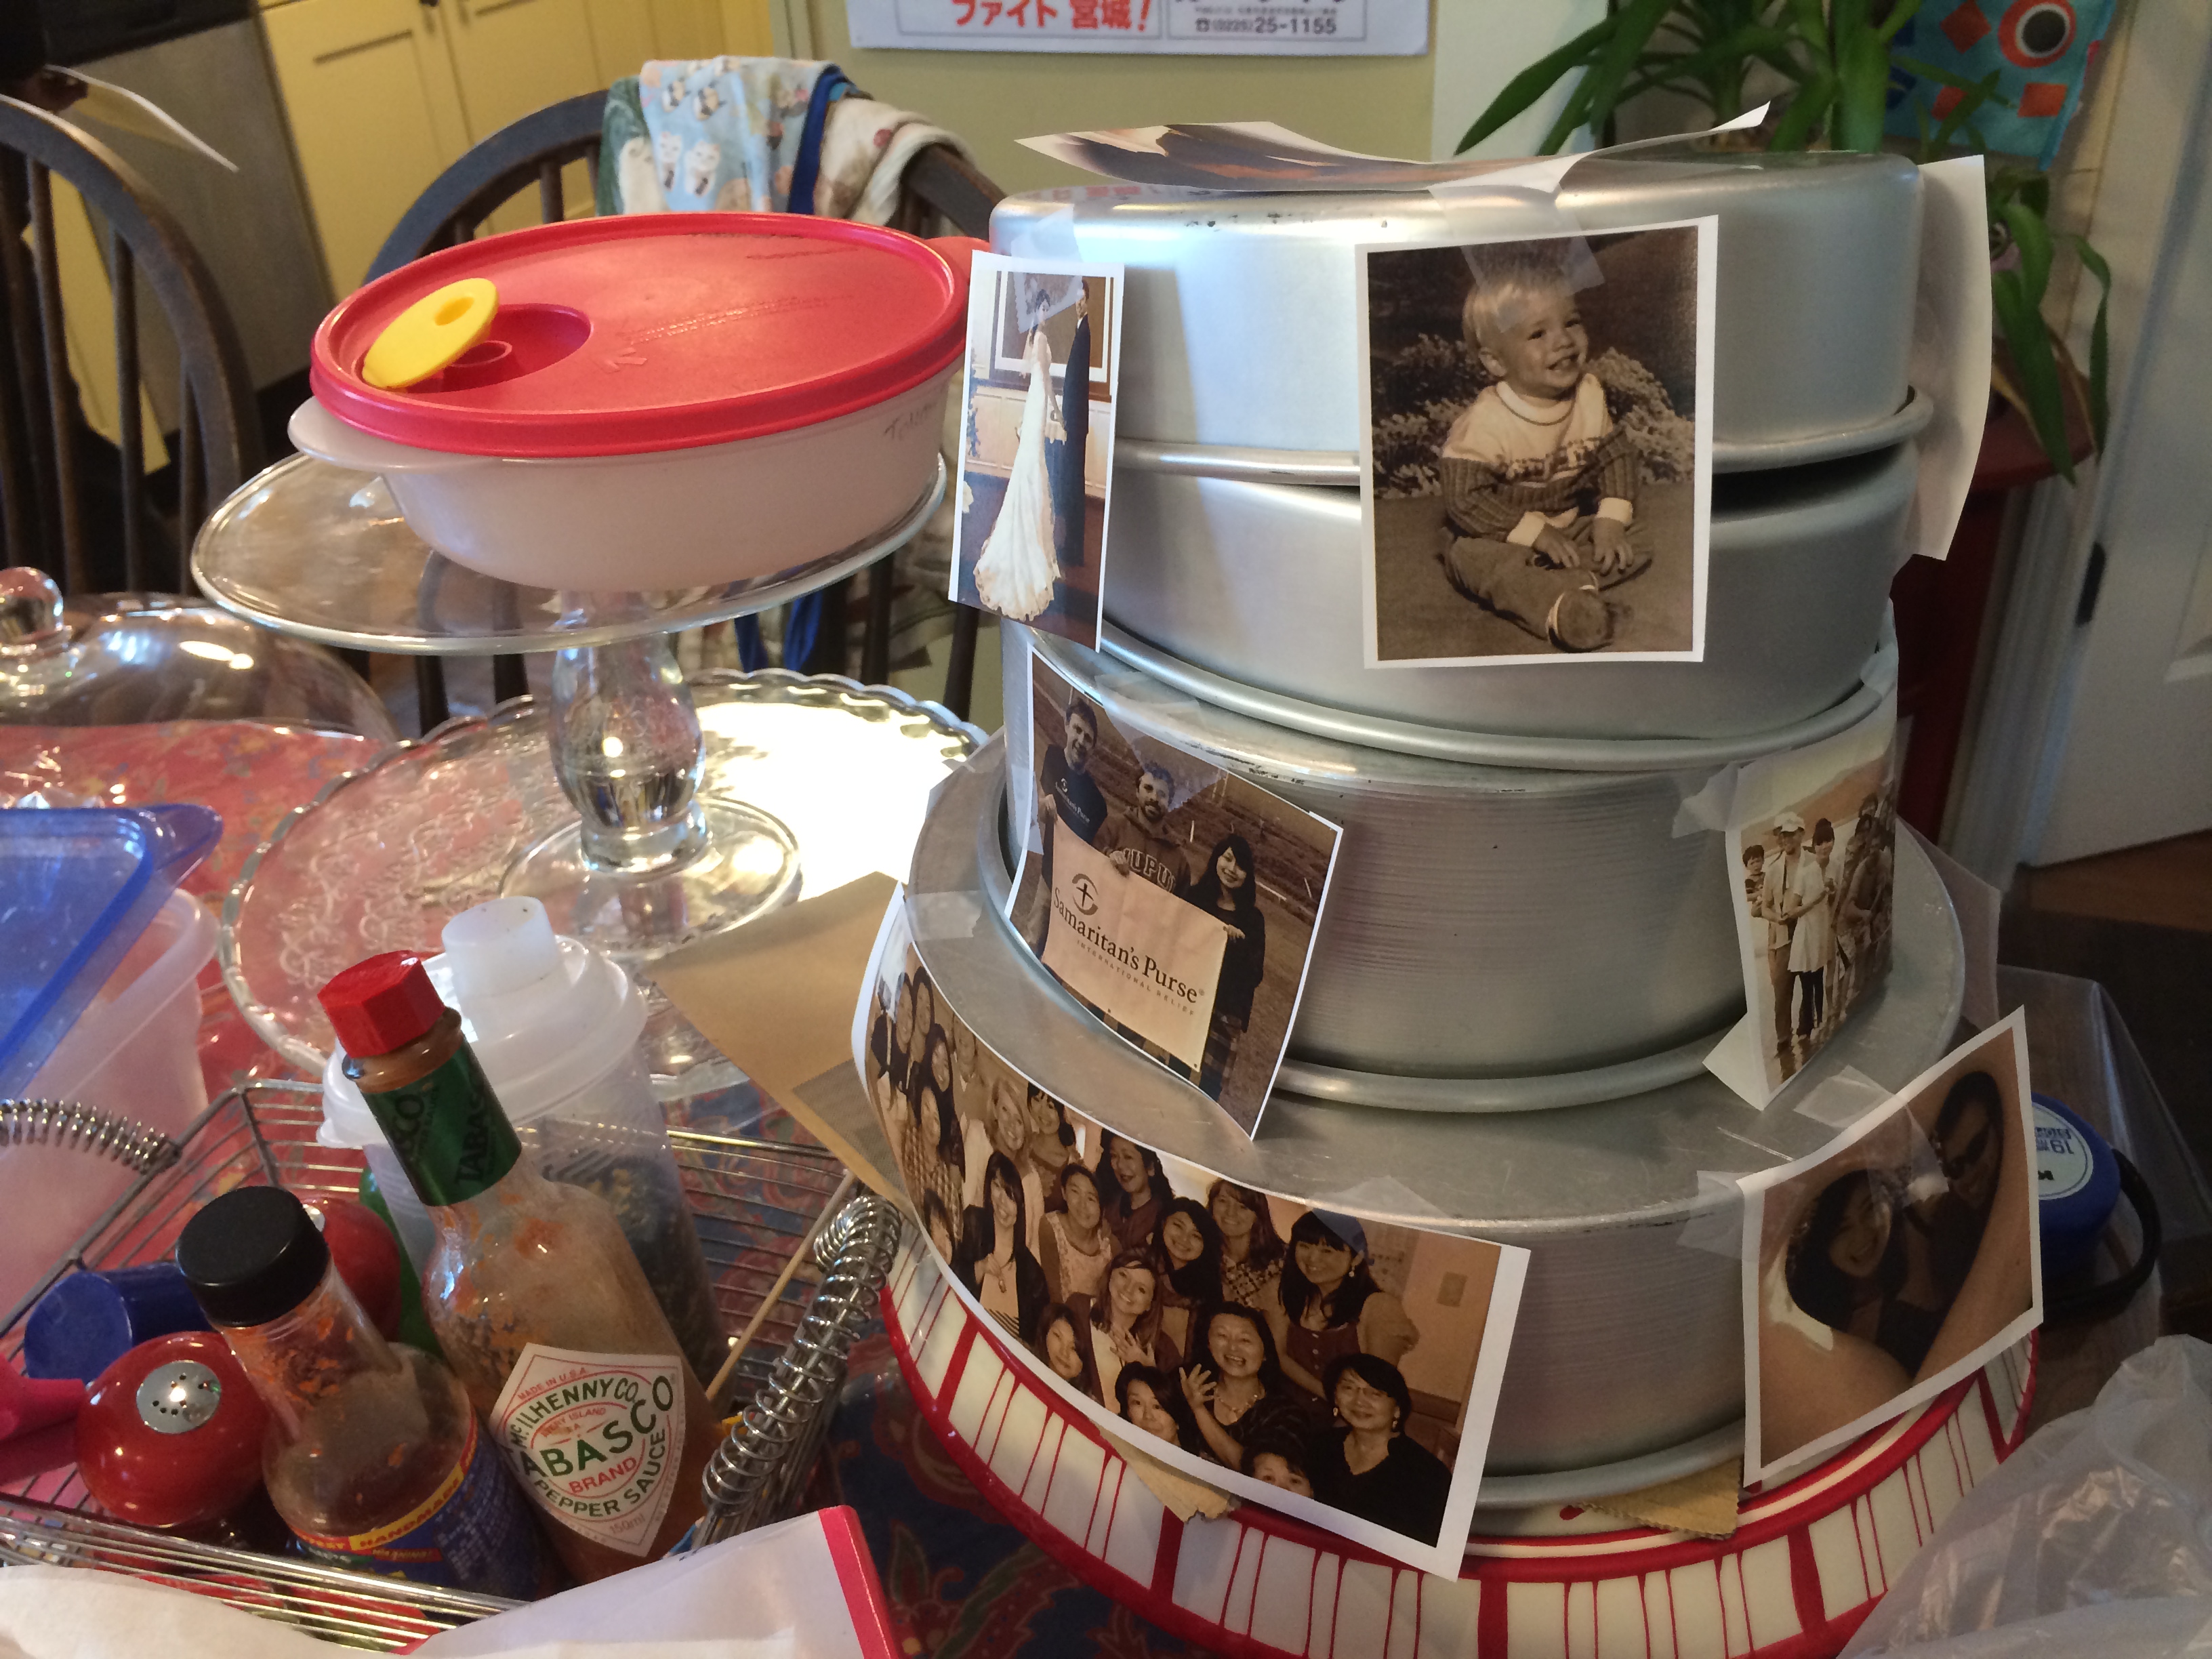
I used copies of the photos to lay it out on the cake pans… I wanted to create a staggered effect and didn’t want to panic when it came time to putting the actual icing photos on.
We did a crumb-frosting on each layer and then the “real” smooth frosting (my best method for this is a glass of very hot water that I dip the spatula into to help smooth things – still working on this!). I cut out the icing photos just before applying them onto the cake, and made a sepia-brown icing for the border of each photo. I inserted straws into the bottom two layers to support the tiering (again using advice from various websites). I waited until we transported the cakes to the venue to actually stack them, add the borders, and add the roses.
Here are some photos of the finished product and the lovely couple. It was a lot of fun to think through and I was so happy for the encouragement of my husband -as always – and the help of a friend. Congratulations, Cam and Ayami.
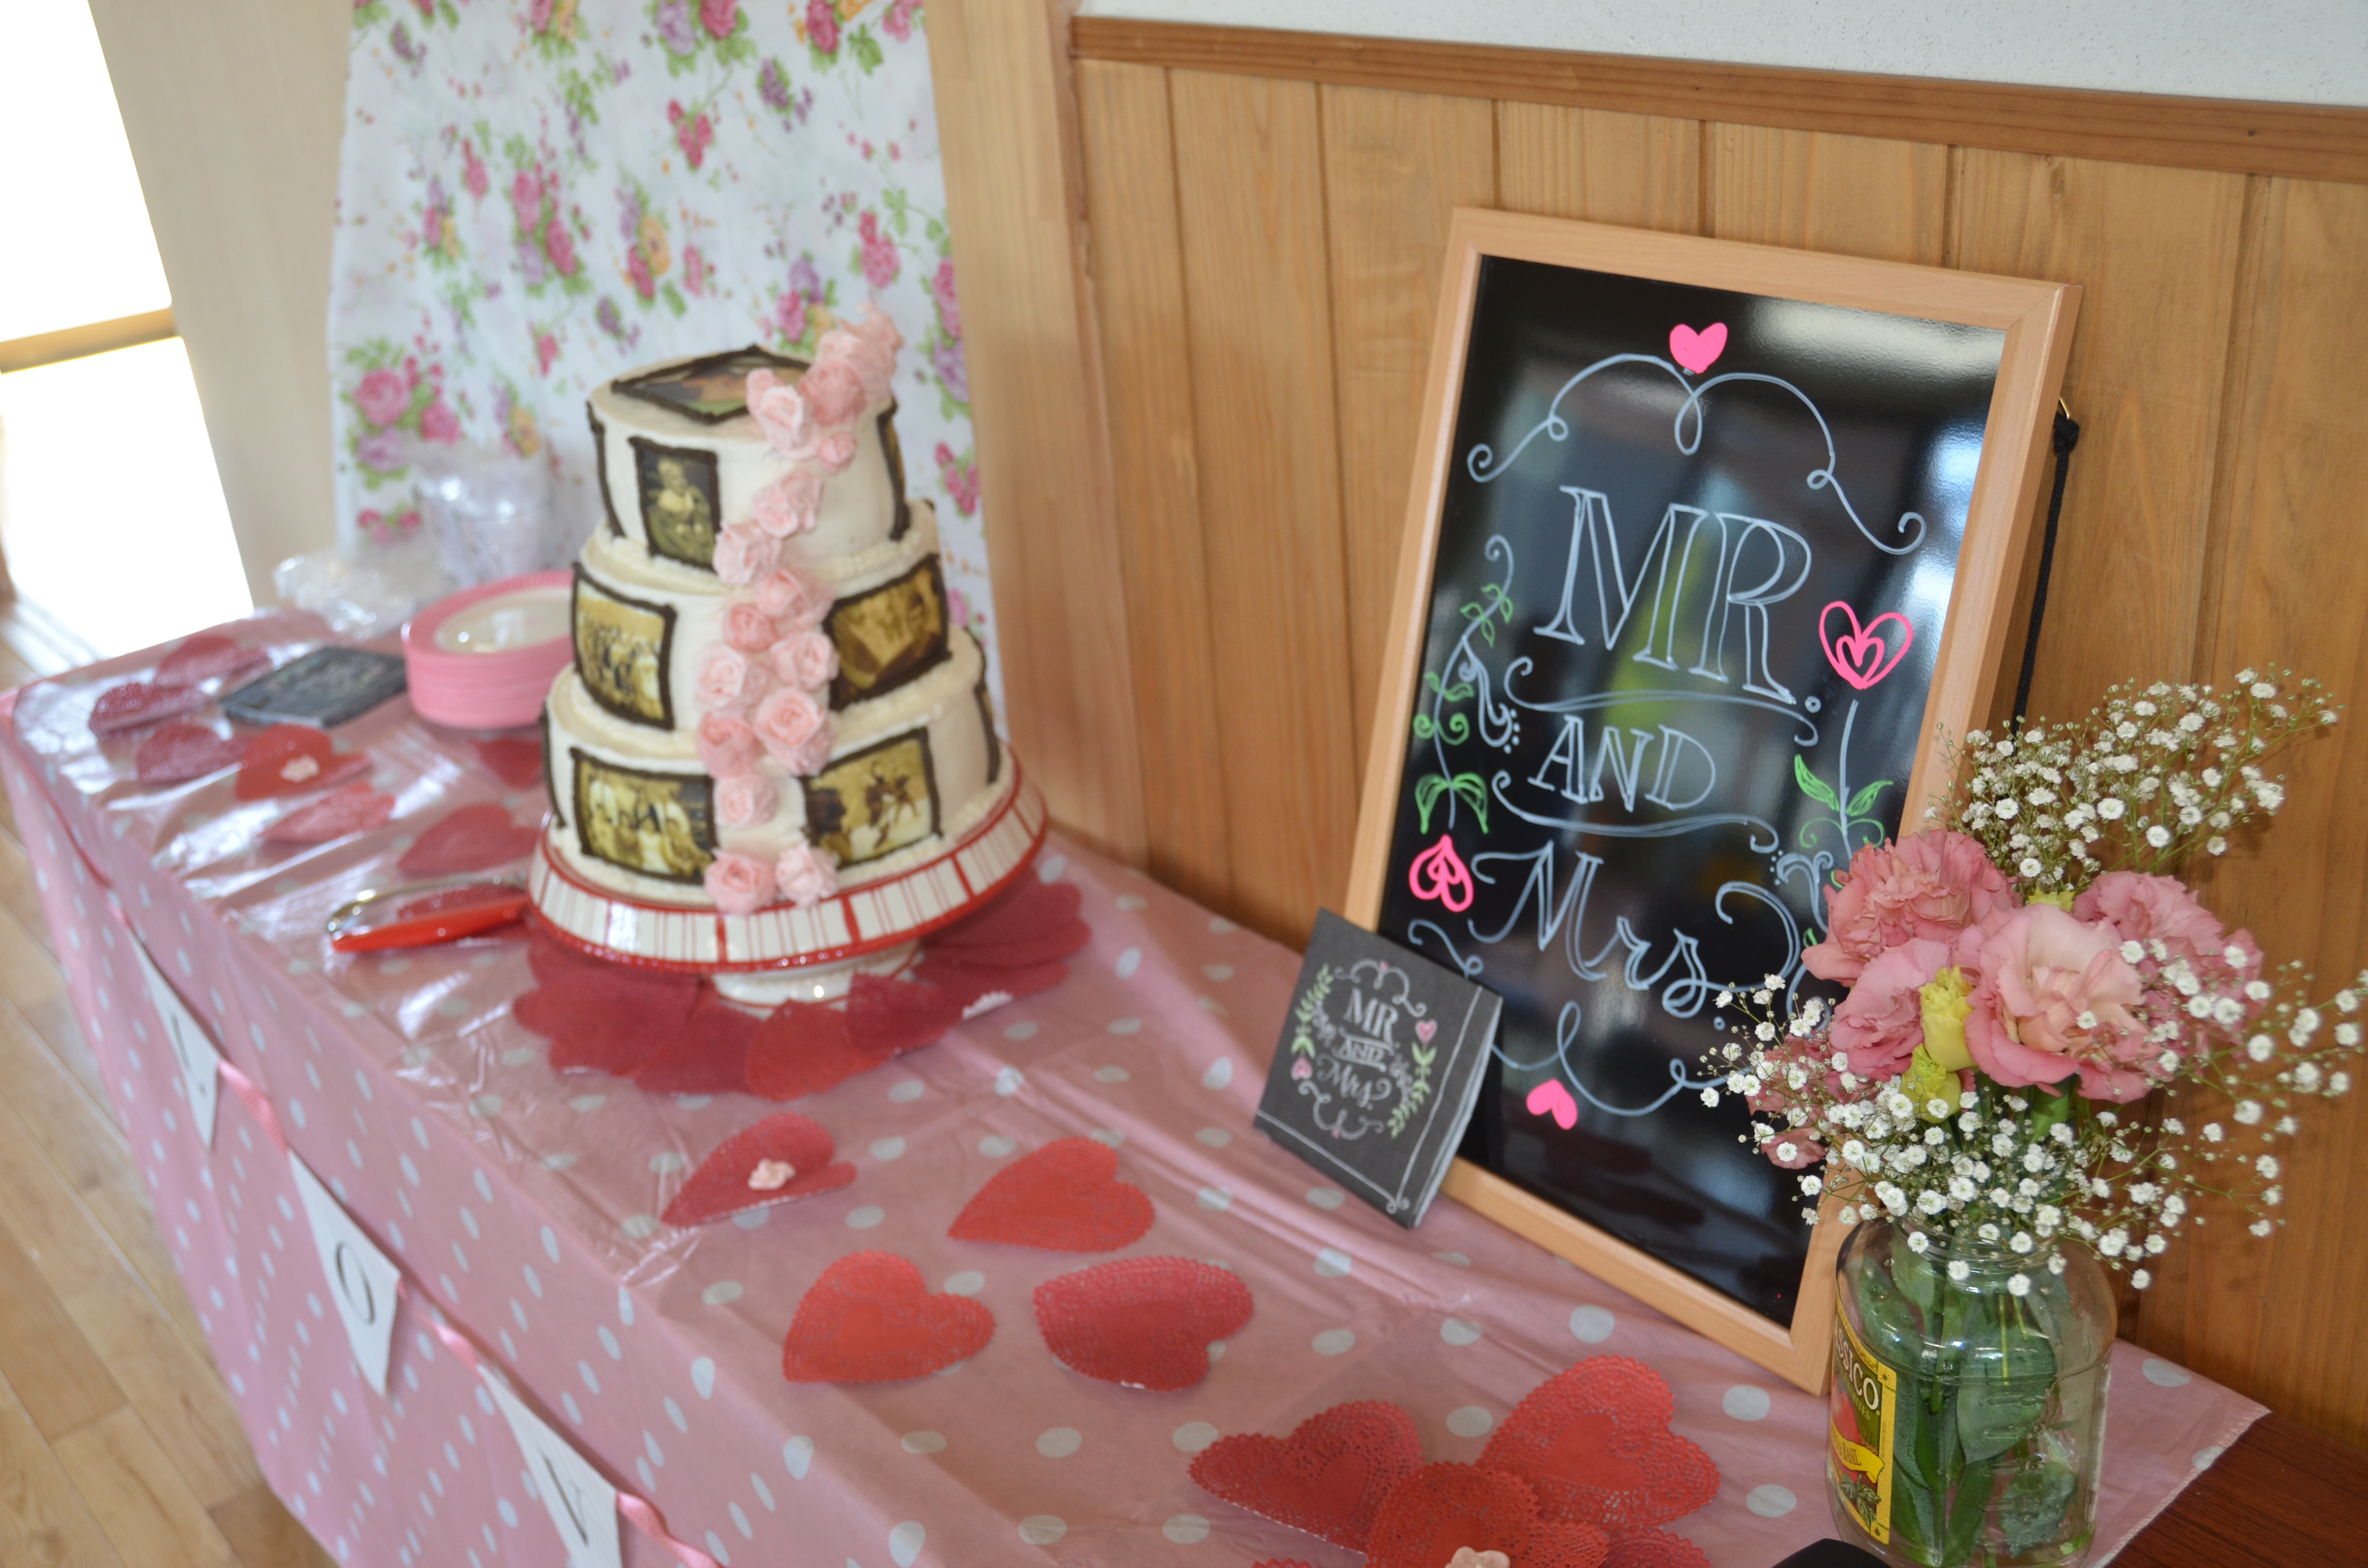

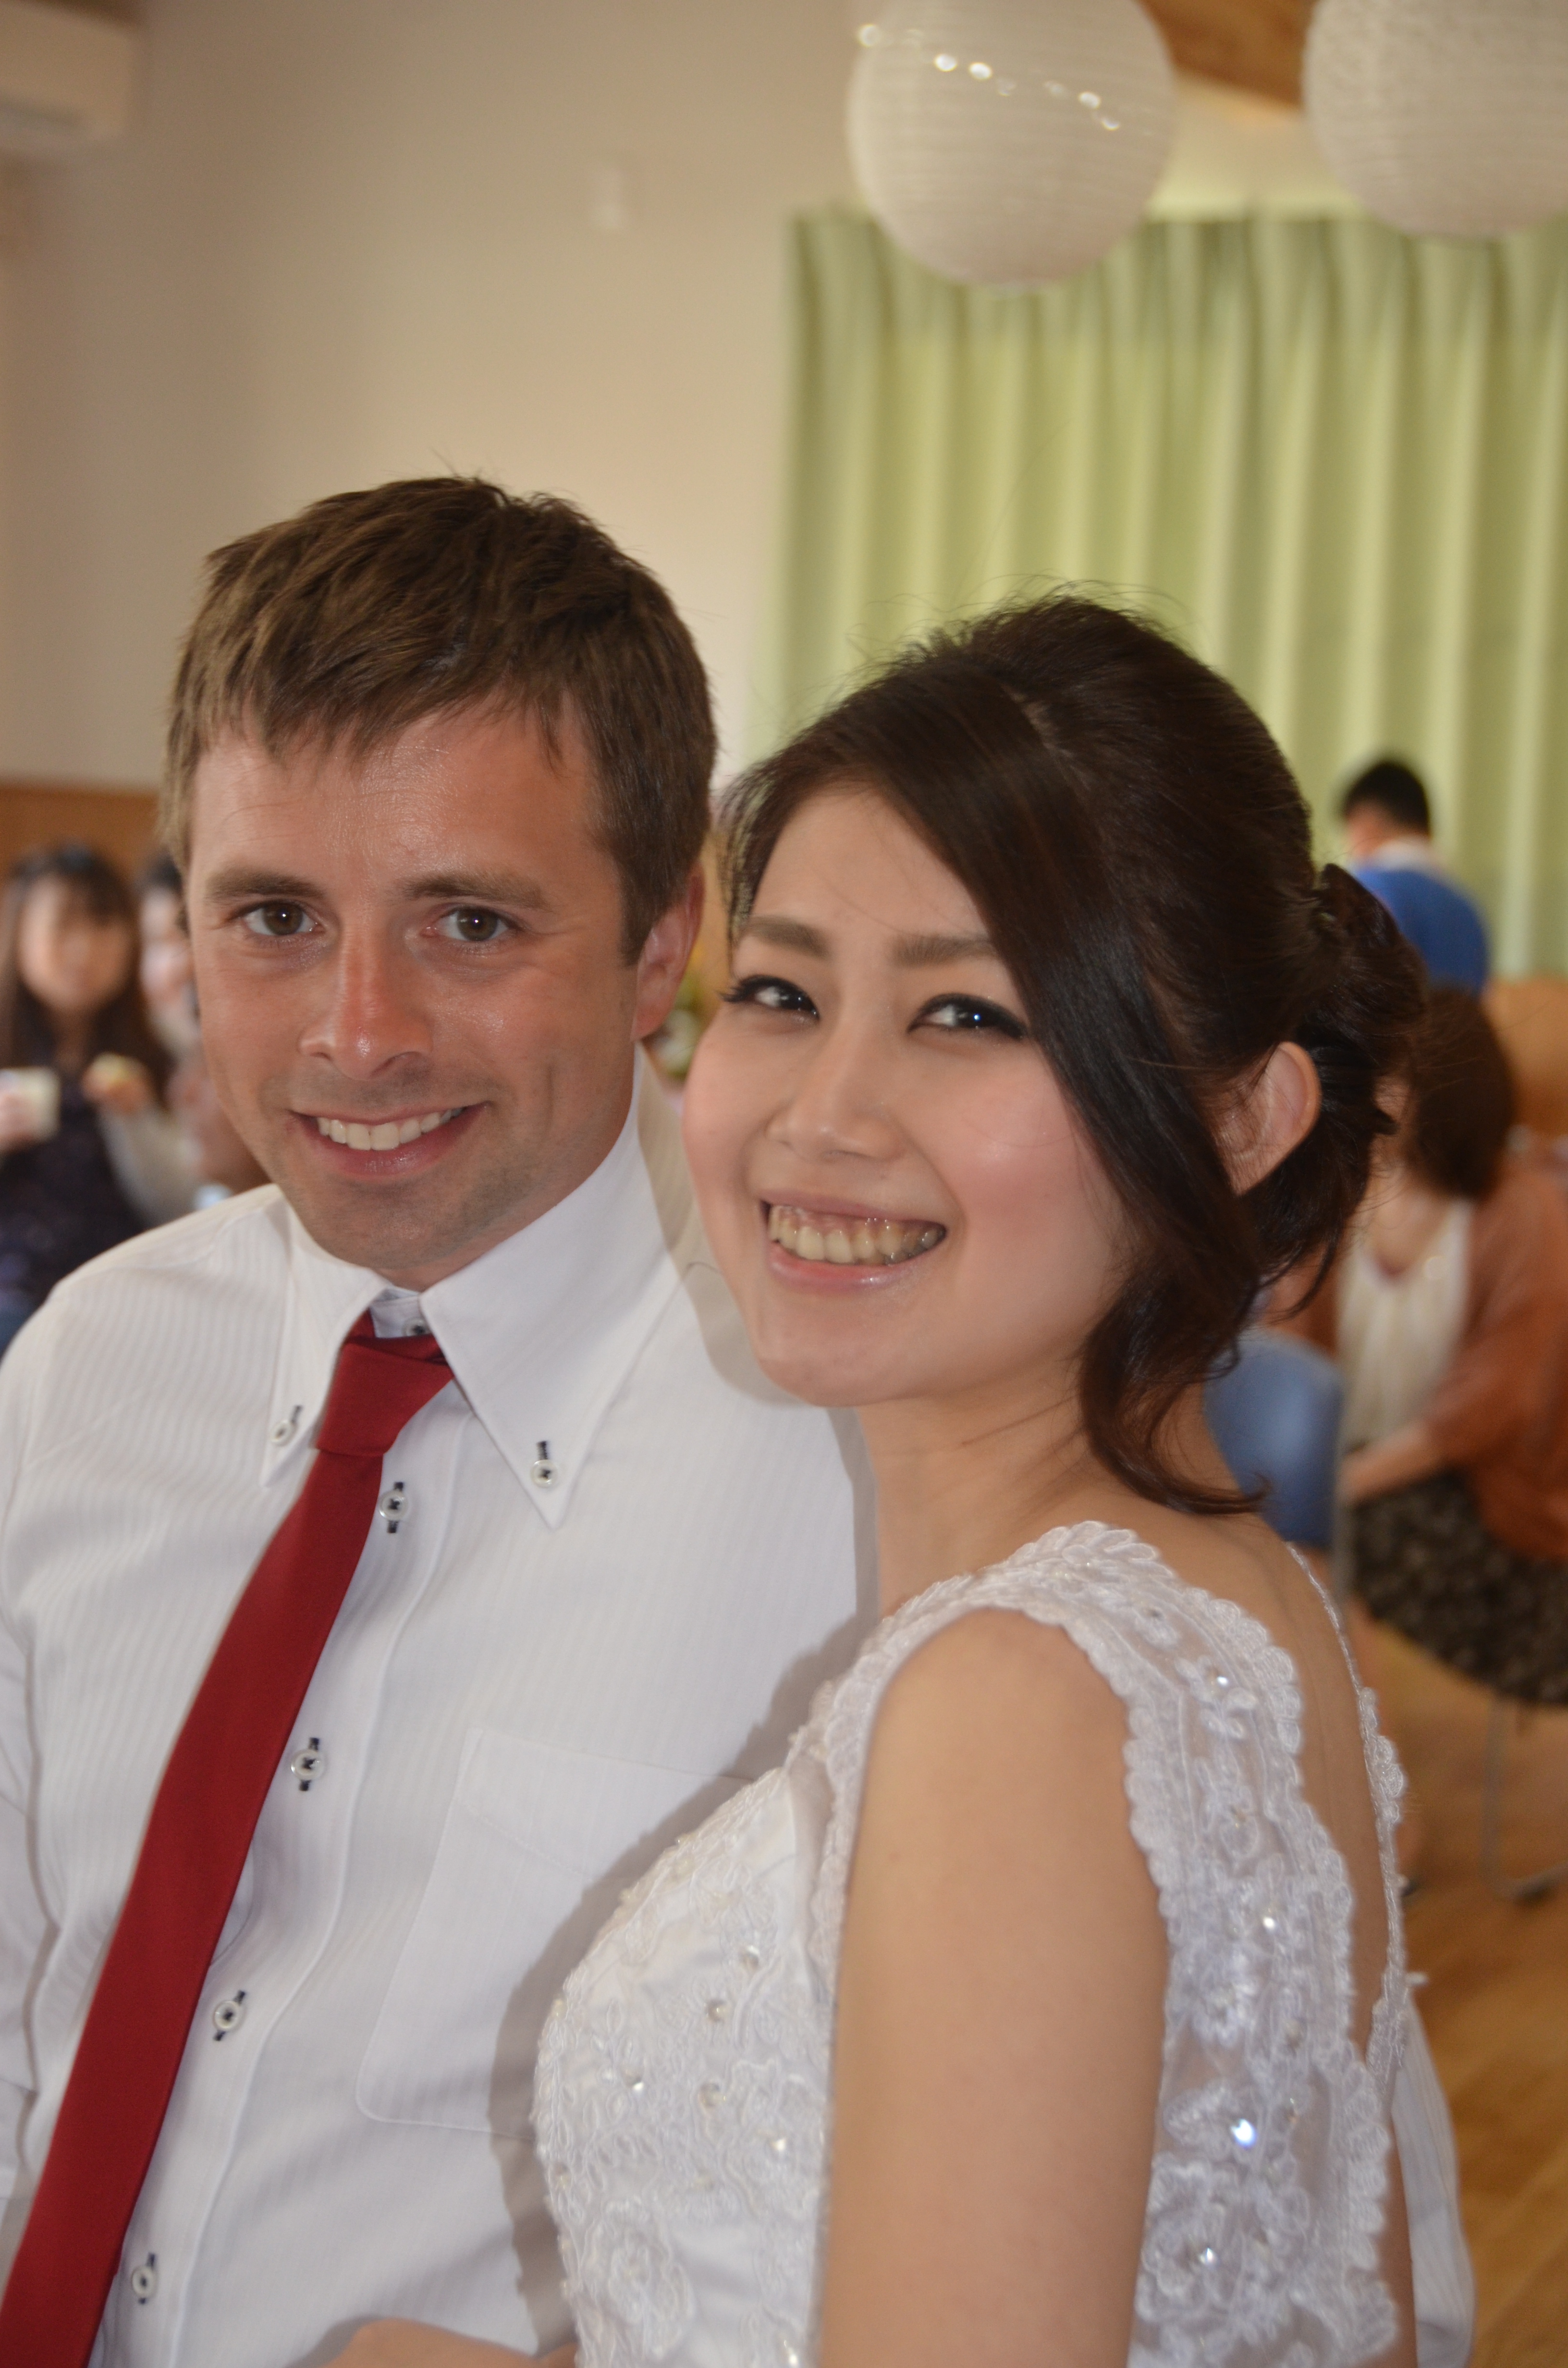
Here is the cake and the couple after the first cut – isn’t Ayami beautiful?
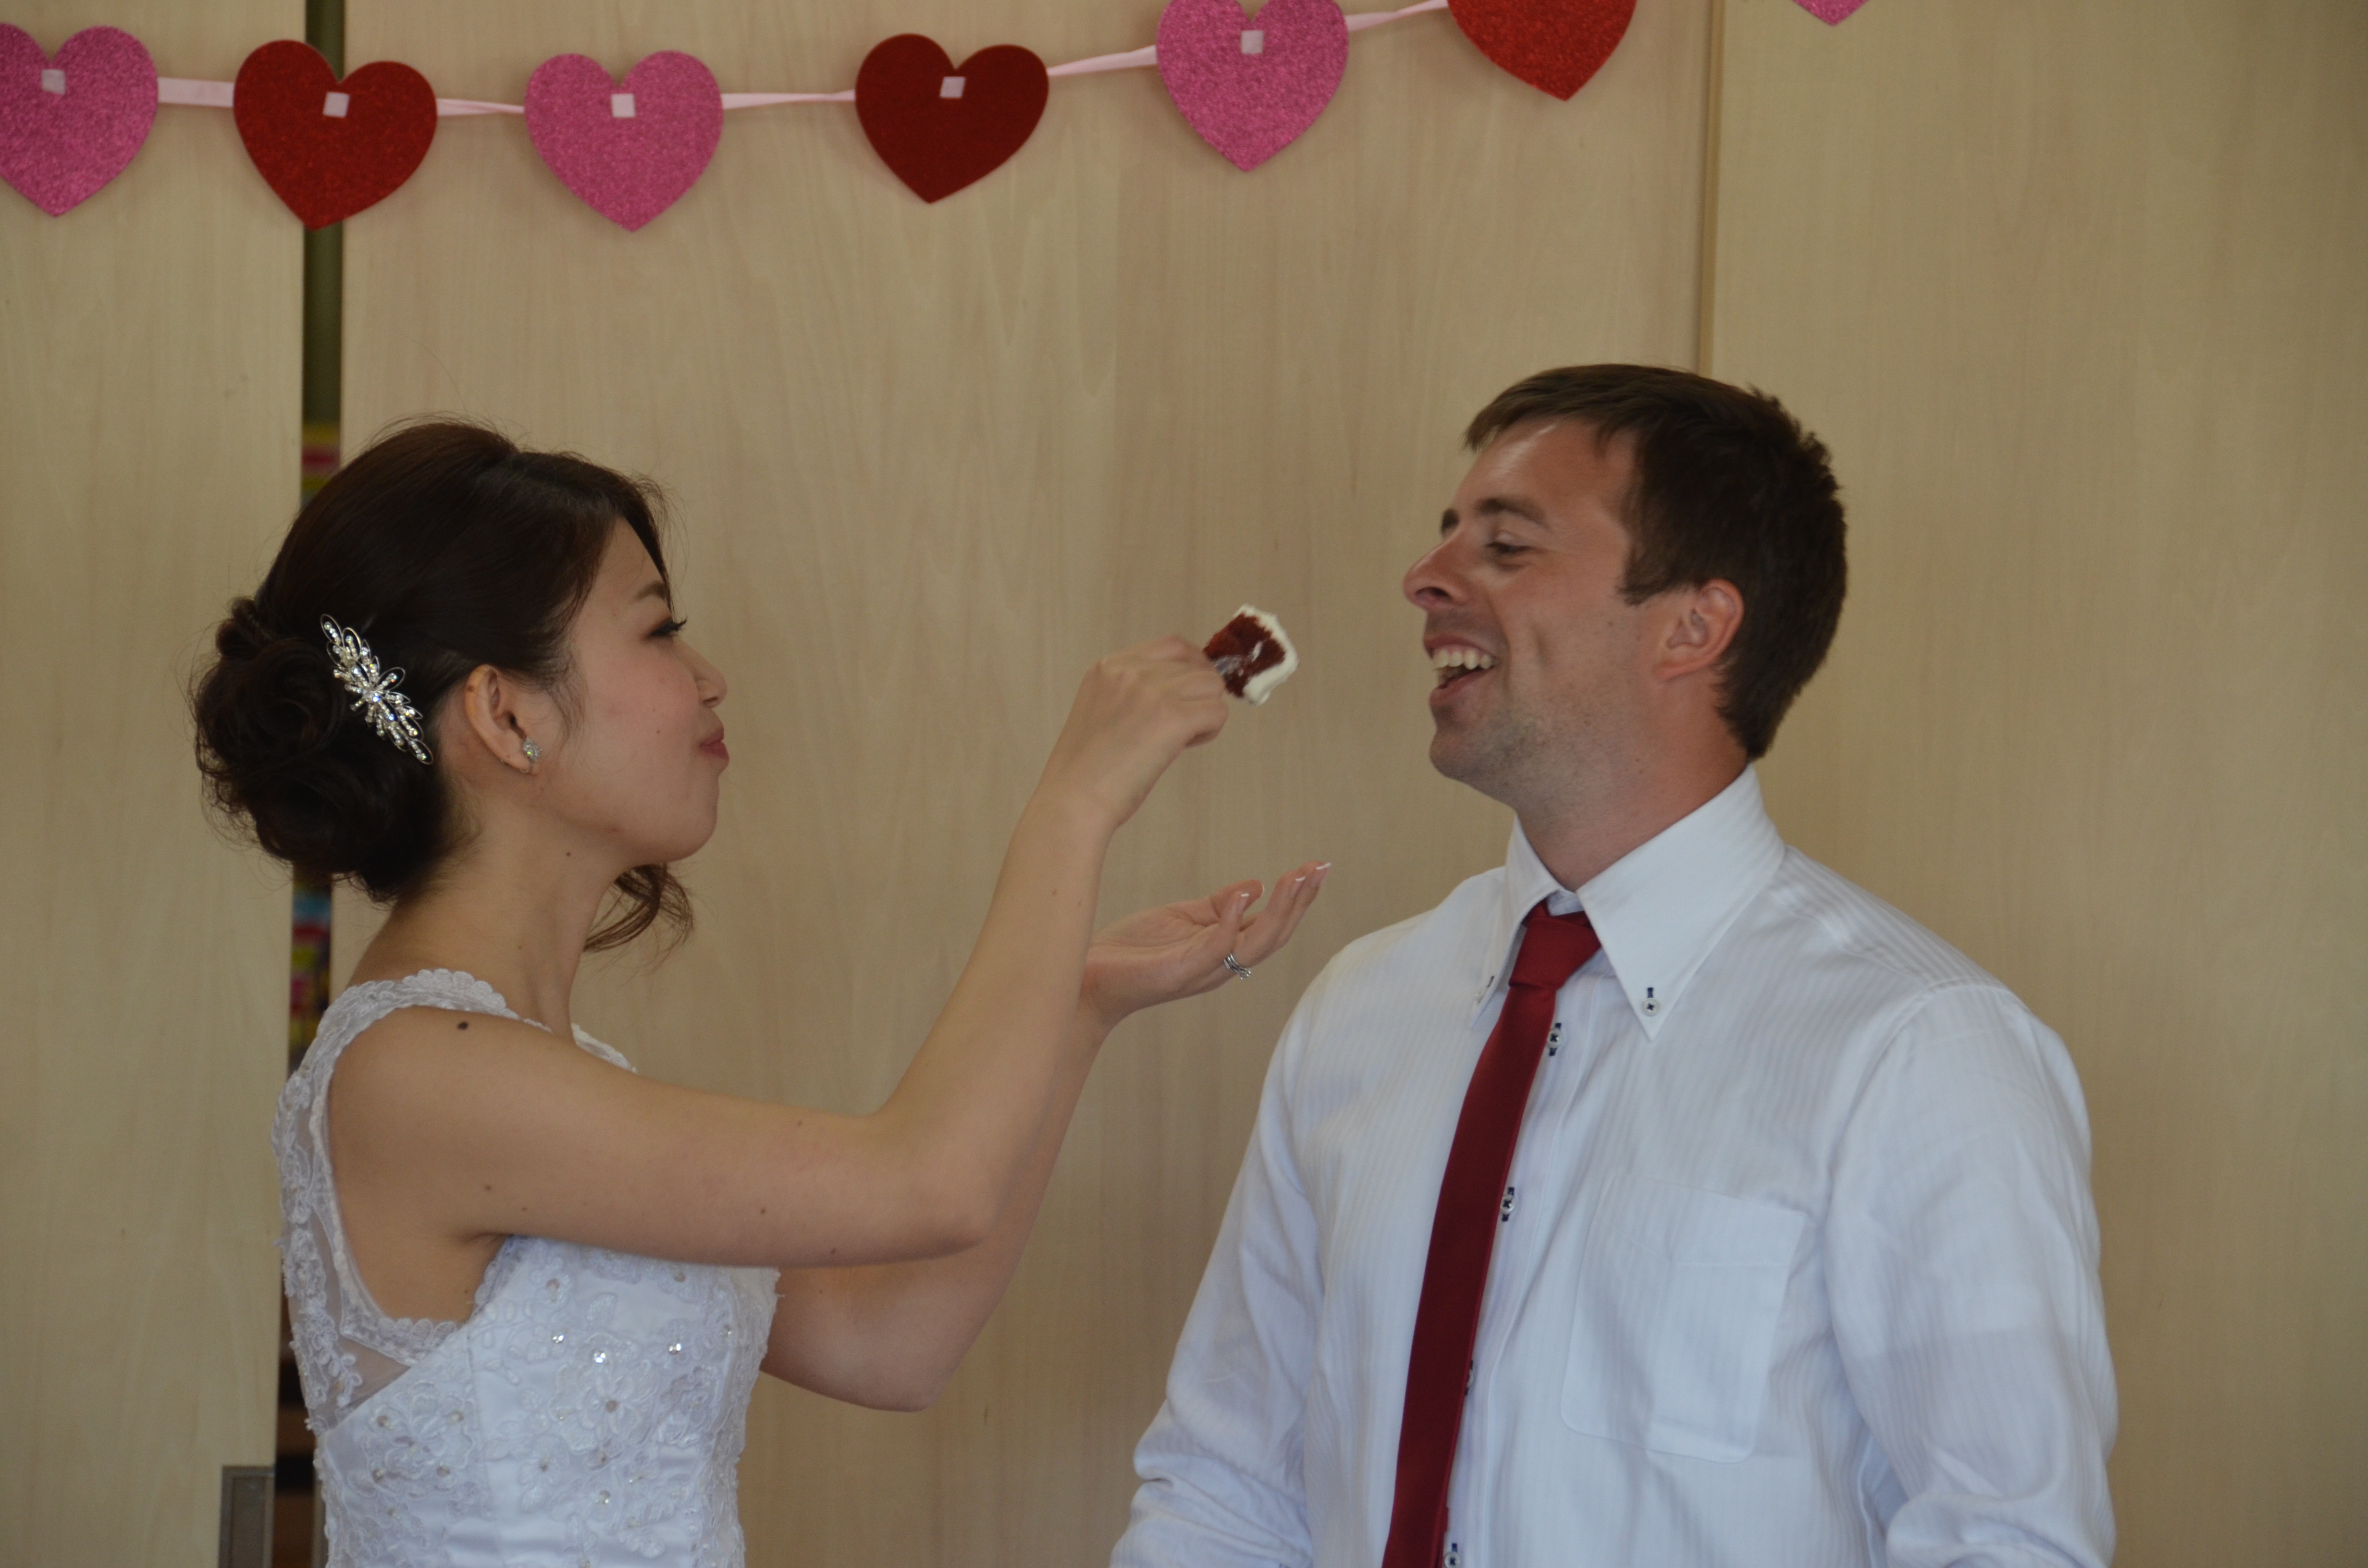
It was all a very — sweet! – day!
